Graysburg Hills Golf Course – Chucky, Tennessee

Posted by:

|

On:

|

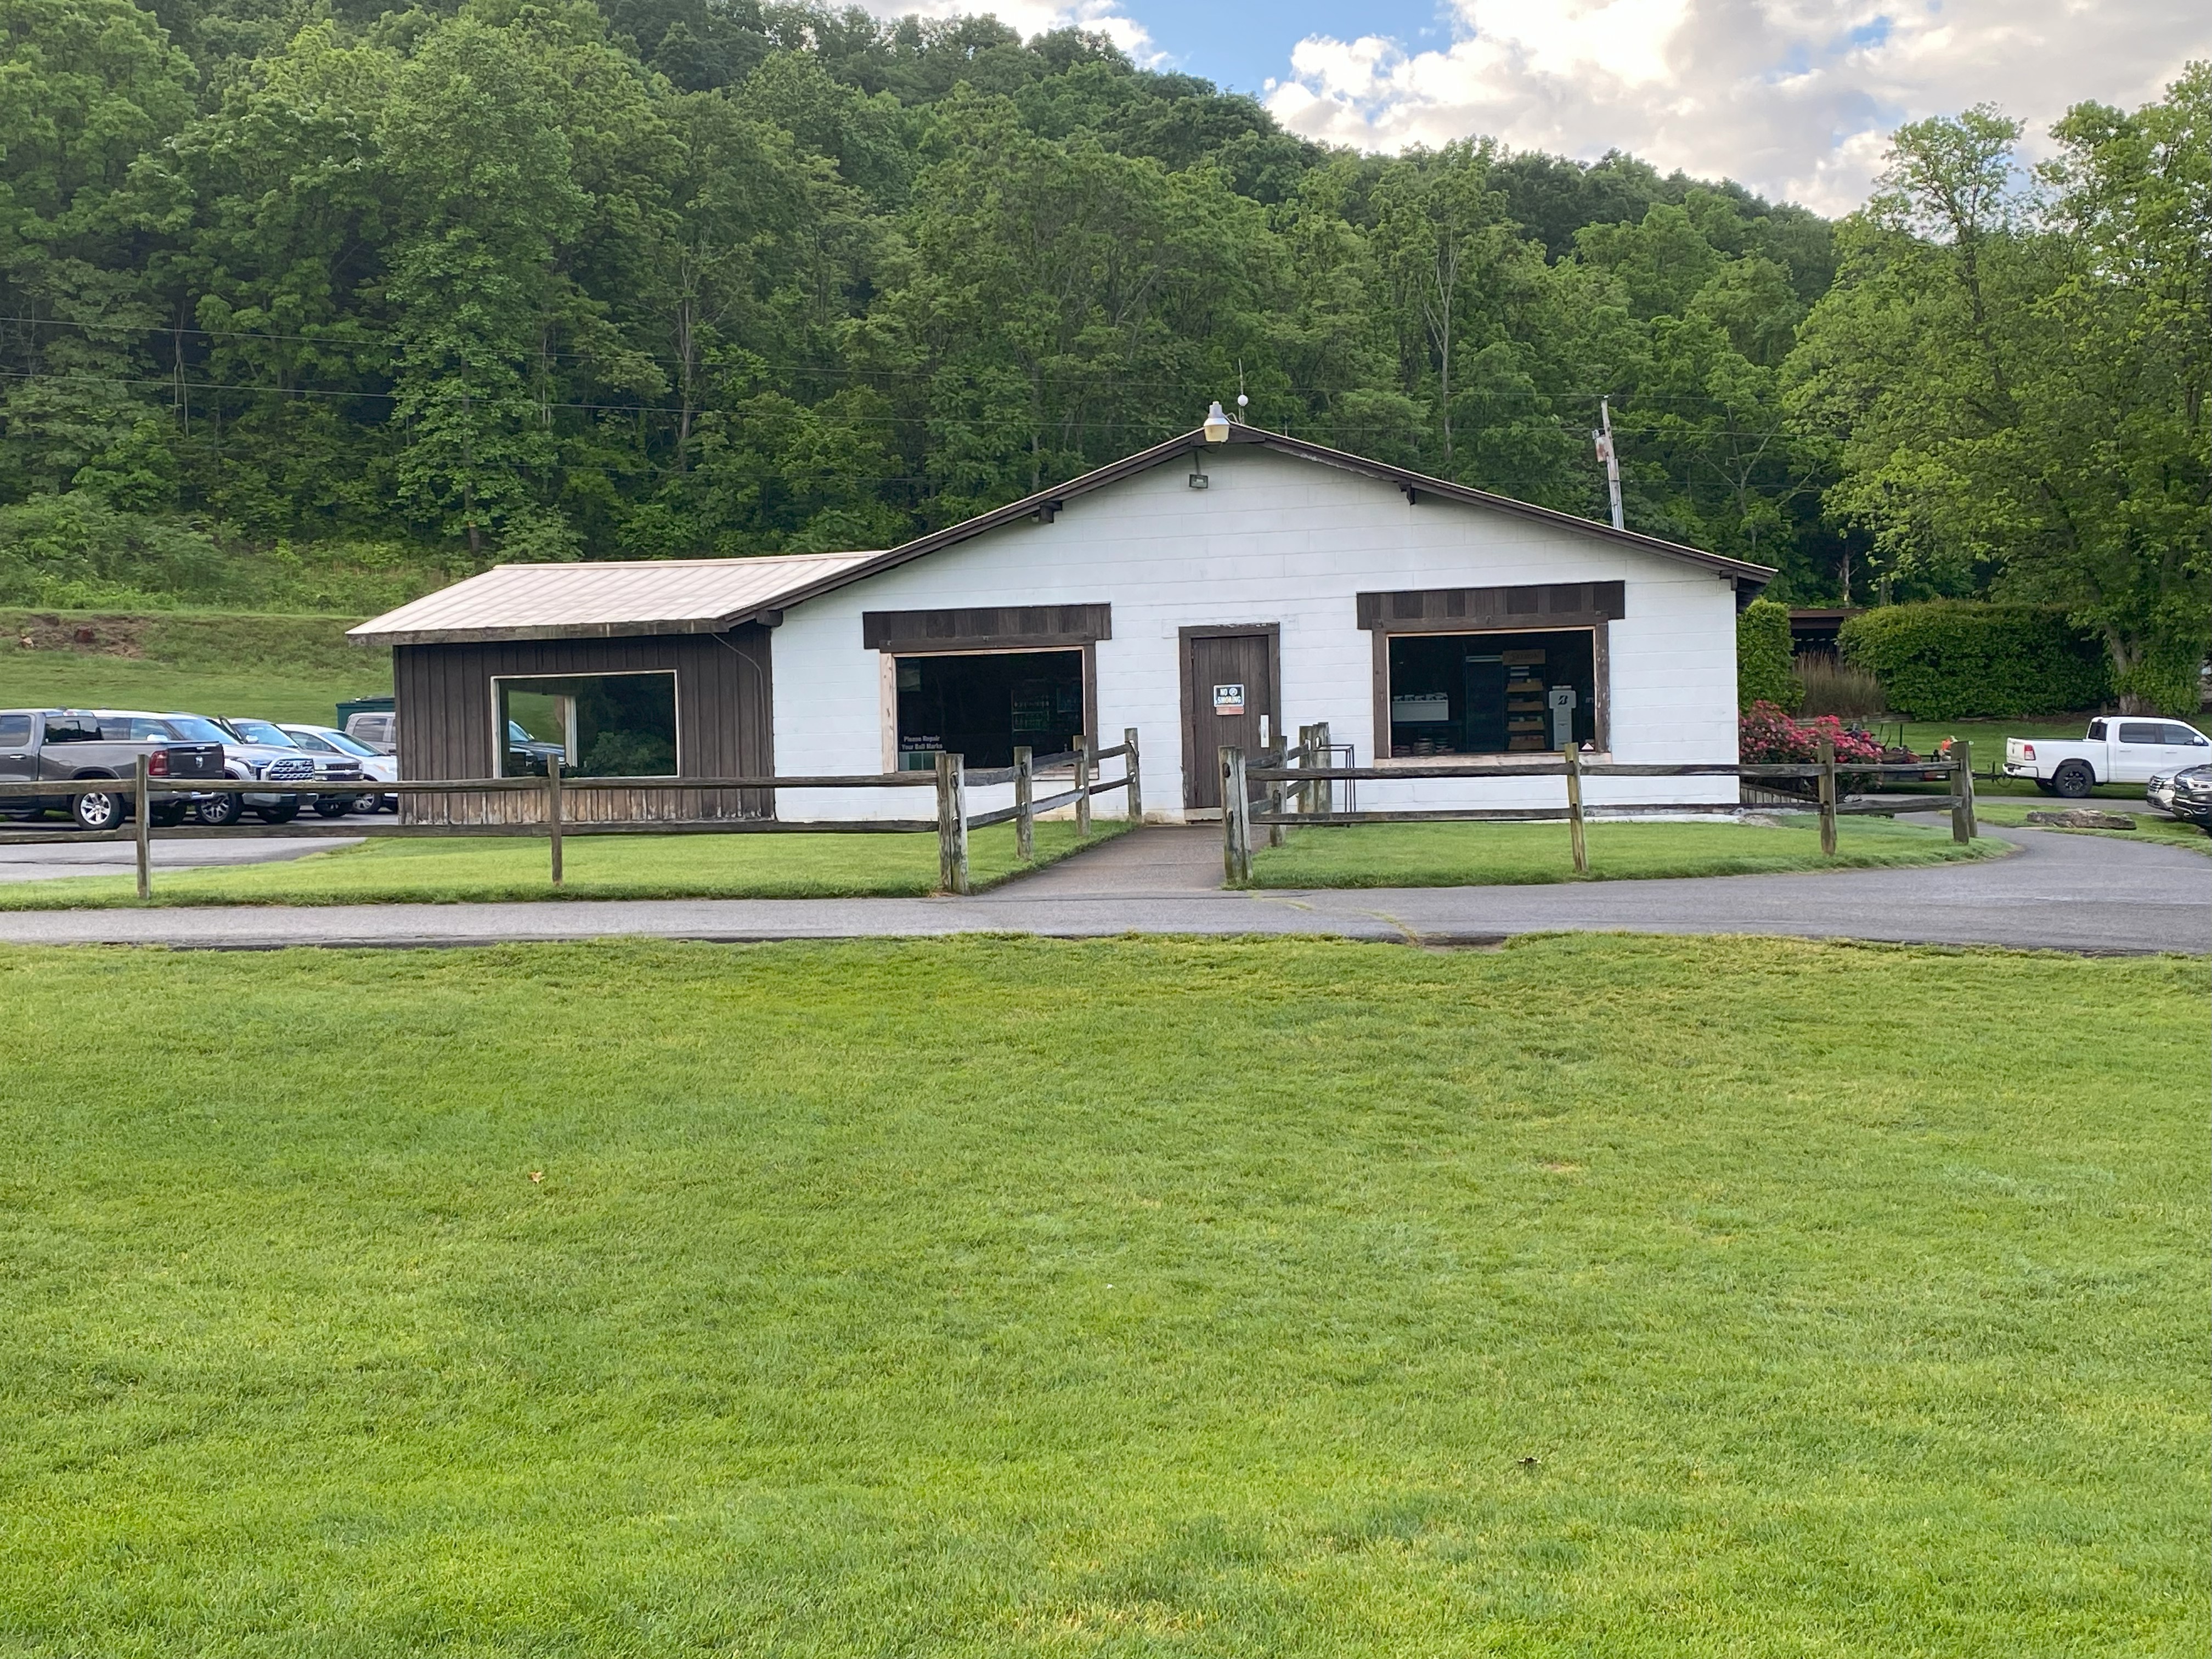
We have been in Greeneville, actually Afton, Tennessee visiting family and taking in the sites the first couple of weeks in May. On a few occasions we have been able to get out early to play a few rounds of golf at this nice course near us called Graysburg Hills Golf Course. They have 3 sets of nine holes, with most everyone playing 18 holes start out on the Knobs 9, then you transition to either the Fodderstack or the Chimney Top 9 to finish the round. When checking in, you will more than likely meet the owner of the course, but you also could be welcomed by someone from the area, who is probably retired and loves to golf. The club house has a little snack bar giving you your choice of food and drink. Overall, the golf shop may be a little old, but it is very quaint and welcoming, with a fair amount of product to purchase. The course overall is a little rough in the fairways due to limited amounts of grass that is just coming back after all of the storms and the winter, but the greens are all in great shape and roll pretty much true. There is poison oak and ivy in the rough, so be careful.

Caddie Notes:

Starting with Knobs 9. Hole 1 is a straight away par 5, that is a great way to start your round. There are a few bunkers on the right, along with trees and the driving range that you need to miss when teeing off. A good tee shot is middle to middle left, providing you with a good view for your second shot. If laying up, put the ball in a spot that has the distance you prefer. If taking a shot to reach in two, just note that there is rough usually in the front of the green. The green has a couple of ridges that can cause your approach shot to roll away from the hole, especially if you miss left. The green is protected by bunkers front, right and left, as well as behind. Usually, a par is attainable. Hole 2, a par 4, is a dogleg right that is fun to play. A good drive will leave you with a short iron or wedge into a green. Be careful as the green likes to run right to left with a ridge that runs through the middle from right to left. Any approach shot to the green needs to be a high shot that lands softly, otherwise you may be putting from a long way off or chipping back onto the green. Hole 3, a par 4,  is a dogleg left. You cannot see the green from the tee box, but you will notice a large hill with bunkers on the left side of the fairway. If you can hit your driver well, you can clear this hill and hit the down slope toward an elevated green. Otherwise, you should play to the right of the hill and find a flat area to hit your second shot. If you clear the hill, you will have a wedge or short iron into the green. If you play it right, you will have a 200 yard shot to the green. Club selection is important as the green is elevated and protected by bunkers on the right and left. The green has a couple of tiers, with the front half being one tier and the back half being the second. Hole 4, a par 4, is a dogleg right. You will want to keep your tee shot middle to middle right to have a clear shot to the green utilizing a short iron or even a wedge. If you are too far right or left, you may be blocked out by trees, forcing a low shot to a well-protected green with bunkers front and right. The green is narrow, but wide. Playing a high shot with a soft landing near the pen is the proper play. Hole 5, a par 3, is fairly straight away. However, there is a lot going on here with hills right and left creating a canyon feeling at the green. From tee to green, is a low area that is made up of high grass. Any ball in there and you are more than likely hitting from the tee again. The green is deep with a ridge that runs across the green about the midpoint. It plays pretty flat or maybe a little up. Hole 6, a par 5, is a dogleg right with a wide landing area for your tee shot.  A good tee shot can provide a possible long second shot to the green, setting up an eagle putt. If you don’t have the length to hit the green in 2, you can pick a good distance for your second and third shots. The green is elevated and protected by bunkers right. We always come away from this hole wondering why we did not get a birdie and are carding a boogie or double in some cases. Hole 7, a par 4, is a dogleg to the right with sand traps right, along with trees. Your second shot is uphill to a large green that is separated by a ridge that runs from right to left. Shoot for the flag on this hole as it is usually on one of the flat areas, back right or front left. Be aware of the bunkers on the right as you approach the green as they are not visible uphill. Hole 8, a par 3, plays downhill. The green is protected left by bunkers and a pond, pond in the back, and bunkers right. The green is pretty large and easily hit if you can get all of the trouble out of your mind. Get your par and walk to the ninth tee box. Hole 9, a par 4, is a dogleg left with a wide landing area right for your tee shot. Left is a bunker complex that can catch your tee shot if you are not able to fly it. A good tee shot will leave you with a short iron or wedge into the green. The green is fairly large with a couple of tiers and it is protected left by bunkers, both sand and grass, and right by a bunker and the pond.

Fodderstack 9, is one of the two choices you have for your second 9 holes. After crossing the road from the club house, you go straight up the path to the 1st tee box. Hole 1, a par 5, is a dogleg left. From the back tees, black, white, and even gold, you have to pay attention to the trees on the left, and also notice that the fairway, although wide in the landing area, runs from left to right. I prefer to challenge the trees on the left, landing middle left in the fairway. If accomplished you will end up middle or middle right in the fairway for your second shot. This is a tough hole to reach in two for middle to high handicappers, but a good second shot can leave you with a wedge to a low iron into the green. Once again, the green is elevated and the false front will push you ball back down to the fairway if you don’t cover it. The green is two tiered, front and back, and protected by bunkers right. Hole 2, is a funky little par 4 that doglegs to the left. The view from the tee box is a little confusing. On the left is a complex of rolling mounds and trees, the cart path runs through them, and the fairway looks narrow to the right with water further right. If you hit driver, you may end up in the water right as the fairway tends to run left to right, so pick your landing area wisely. Once in the fairway, for your second shot, you are looking at a green that is just across the water that is built into a hill and runs back to front pretty severely. There is a bunker to the top back and to the right side of the green. Depending upon where the flag is located, your shot may run back down the green towards the rough and water, or to the left and down. Take a par if you can and move on. Hole 3, a par 4, is a dogleg left. The fairway is pretty much straight out from the tee box. There is trouble on the left with trees and mounds. You will need to clear the corner to get a look at the green. A good tee shot here will be in the middle to middle right in the fairway. Looking at the green, which has two tiers, one front and the other back, is fairly large. It is protect on the right by bunkers and on the left by the cart path and trees.  A good approach shot will leave you with a great chance at a birdie. Hole 4, a par 4, is straight away, uphill all the way. The fairway is pretty wide with tress left and right. Your second shot will play at least 1 if not 2 clubs longer than you think, so make sure to take enough club. If your shot is just a bit short, it may run all the way back down in the fairway. The green is somewhat narrow, but wide from left to right. It has a valley in the middle that may collect your approach shot leaving you with an interesting putt. There is a bunker left, but it rarely comes into play. Hole 5, a par 3, is downhill. The green is large and it is protected left and right by bunkers. This should be a fairly easy par or birdie if you hit the green. Hole 6, a par 4, runs straight, a little downhill. The fairway has a wide landing area. A good drive will leave you with a second shot with a middle to low iron, or for longer hitters, maybe a wedge. The green is protected back, left and right by bunkers. The green also runs a little right to back left with a slope in the middle. If the flag is in the front, the best approach is from the right front. If the flag is in the back left, middle to back right is safe. Hole 7, a par 5, that is similar to hole 6, but longer. The green is reachable in two for long hitters, as it runs a little downhill all the way. The green is large and it is angled from right to back left. There are bunkers on both sides and the back right. A good approach is middle right to set up an eagle or birdie putt. Hole 8, a par 3, is kind of a signature hole in that you have to go over water to a large green. There are mounds to the right with hidden bunkers, and on the left is high grass that runs out from the pond. There is a huge false front. A good shot will take you to the center of the green, which runs back to front. Best to leave your shot a little short of the flag to allow for an uphill putt. Hole 9, a par 4, runs back up the hill towards the first tee box. It is a slight dogleg left so make sure to drive your ball middle to middle right for the best approach. As it runs uphill, take enough club to reach the green. If you land short your ball will run back down the fairway. The green is two tiered from front to back and it is protected by a steep drop and bunker left. If you go long on your approach, you could lose your ball as the back runs steeply downhill into an area that is not maintained. Best approach is middle to front of the green. It may leave you with a long putt if the flag is in the back, but better safe than sorry.

Chimney Top 9. This nine hole course provides you with some variety with regards to the layout of the holes. Hole 1, a par 4, runs gently uphill all the way to the green. As the fairway seems to run a little right to left, your tee shot should be middle to middle right. A good tee shot will leave you with a mid to low iron for your second shot. The green is flat, but is protected front left, left, and right with bunkers which leave you will a narrow opening if running the ball up to the green. As the green is flat, any shot to the flag position should leave you with a birdie putt. Hole 2, a par 5, is similar to the first hole, but much longer. Your tee shot needs to be middle to middle right. If left, there are steep hills that may push your ball into high grass leaving you with a tough second shot. Your second shot, if not able to reach the green, should be laid up to a preferred distance for a good approach. The green is also similarly protected as the first hole, as it is protected by bunkers on both sides. A good approach could leave you with a birdie putt, but on this hole, a par is good. Hole 3, a par 3, is all uphill so it plays much longer than you would expect. Take enough club to get to the green, which is elongated from front right to back left. There is a ridge in the middle of the green separating the front from the back. Depending upon where they put the flag will help you on deciding which club to hit. The green is protected left by mounds and a bunker, while the right side has mounds and the cart path. Long straight will leave you potentially with a lost ball if it crosses the cart path. Again, make sure to take enough club, but not too much club. Hole 4, a par 5, that is pretty interesting. The fairway runs downhill towards a pond, that is not really reachable from the tee. A good drive will leave you with a short iron or wedge for your layup, or for long hitters, a hybrid or high iron if not laying up. The green is across a pond, with a large mound behind it that can be used to have your ball roll back towards the green. If your approach shot is spiny, your ball may run back into the pond as the green runs back to front. A high approach with a soft landing will allow for a birdie putt, but a par here is good so be happy and move on. Hole 5, a par 4, is another interesting hole. The tee box is back in the woods and provides you with a view of the roller coaster look to the fairway. You cannot see the green but you will see a large hill out in front of you. If you can clear the hill with your drive, it will run downhill leaving you with a short iron or wedge back up to the green. The green is small and is surrounded by mounds. A middle of the green approach is the best to secure a birdie or par. Hole 6, a par 5, is initially a little uphill with the reaming fairway a gently downslope to an elevated green. A good drive to middle or middle right will leave you with a view of the green. Your second shot, for those laying up, should be to a preferred distance. Long hitters might be able to get to the green in two. The green is probably one of the largest on the entire course and is relatively flat. There isn’t really much of a slope to the green, but at times it seems to run front to back and gently to the back left. This hole is a good hole to get par or better. Hole 7, a par 4, is a very interesting dogleg to the left. Your tee shot is out to the right for safety. If you drive the ball too far to the left you will hit a downhill area that could send your ball into a pond. If you hit it to the right you will be on a flat surface hitting downhill, over a pond, towards the green. There is a large mound behind the green that can help stop your ball if you hit it long. Sometimes it will actually allow your ball to roll back towards the green. This green is wide left to right but not very deep. It is very similar to hole 4, in that a high soft second shot, that is not spiny, is preferred. If your second shot is spiny, it could spin back into the pond as the green runs a little downhill back to front. Take a par and move on. Hole 8, a par 4, provides you with some interesting choices. It is a dogleg left, or maybe more of a snake shaped fairway, with the fairway running right to left. The best drive is the to top right, even a little into the rough, as the ball will travel from right to left. If it catches the steep slope, your ball may run all the way down to the front of the green leaving you with a little pitch shot to the putting surface. If you are middle or middle left, you ball may roll into a bowl around the large tree that is left of the fairway, or it could roll all the way down the hill to a green side bunker. Again, this is an interesting hole that follows the contour of the landscape. Hit it right from the start, possible birdie. Hit is left and you are facing boogie to worse, if you don’t lose your ball. Hole 9, a par 3, runs downhill to a large green that is fairly flat. It plays at least 1 club down. Right off the tee box will result in a lost ball, left will be playable. A good tee shot and a birdie is a good finish to your round.

All 3 courses are fun to play and provide for a great round of golf. Most of all, enjoy the early tee times if so desired along with the quiet stillness of the surrounding landscape. Watch for deer, fox, multiple types of fowl.

Play well and have fun!!

Course Price – 

Course Condition – Par

Course Amenities – Par

Course Personnel – Birdie

Overall Course Rating – Par

Posted by

in